
Hauntingly Easy: Crafting Clay Ghosts for Halloween
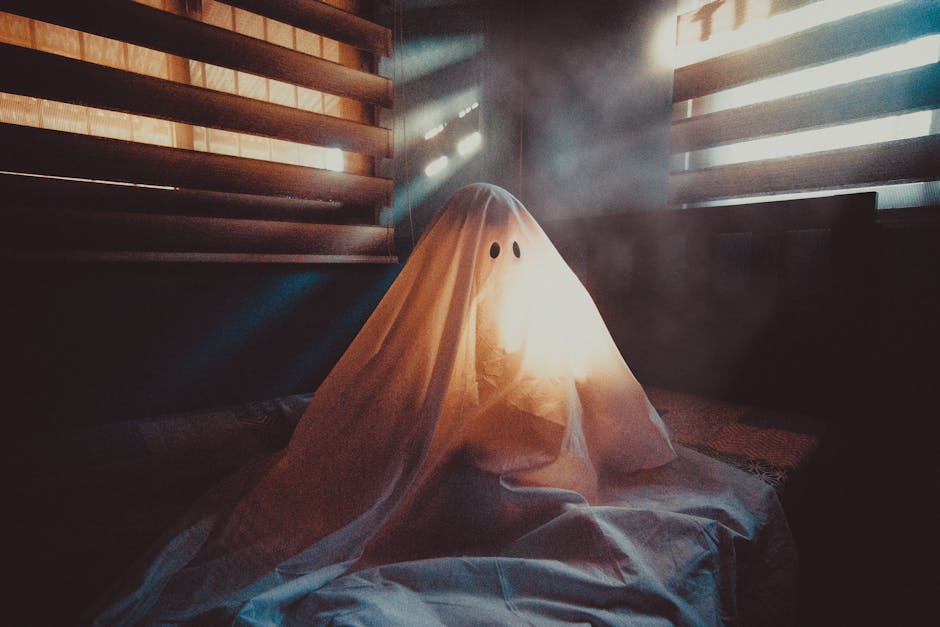
Clay ghosts are a fun and spooky addition to your Halloween decor, bringing an eerie charm to any setting. Crafting these clay ghosts is easy and enjoyable, even if you’re new to DIY projects. Here’s a quick look at what you’ll need and the steps involved:
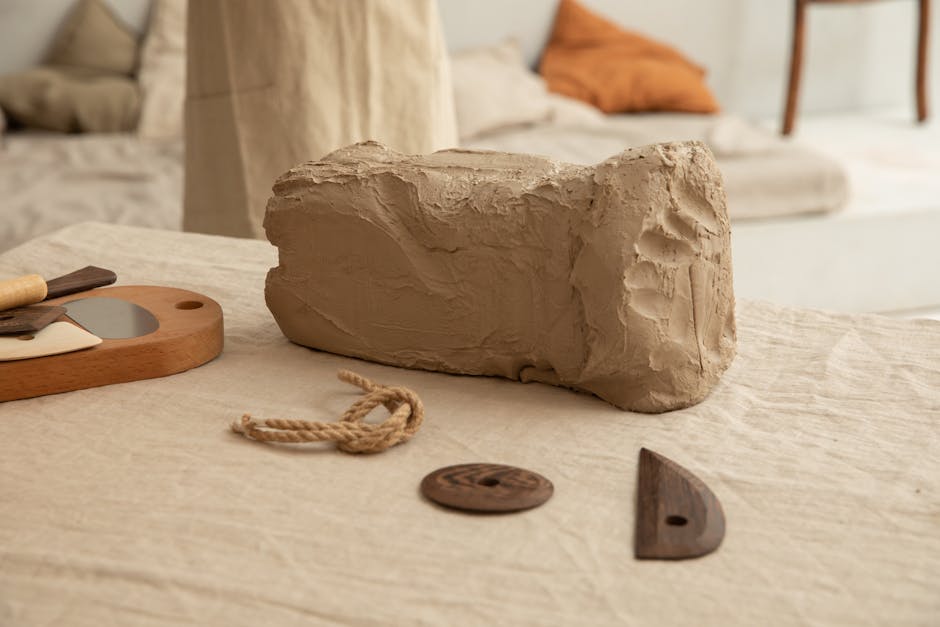
- Materials Needed: air dry clay or oven-baked clay, rolling pin, piping tip, aluminum foil, and a styrofoam ball.
- Steps: Knead the clay, shape it over a mold, carve eyes and a mouth, and let it dry or bake.
Living in Chicago, Halloween decorations are a big deal, with many homes featuring extravagant displays. While you might not go overboard with massive spiders or full-sized Draculas, creating your own DIY Clay Ghosts adds a charming, personal touch to your decorations.
This guide will walk you through how to make these delightful clay ghosts step-by-step. Whether you’re a seasoned crafter or just beginning, you’ll find this project both simple and rewarding.

Materials Needed for Crafting Clay Ghosts
Before you dive into crafting your clay ghost, gather all the necessary materials. Here’s a list of everything you’ll need:
Clay Options
-
Air Dry Clay: This type of clay is great if you prefer not to use an oven. It hardens on its own, usually within 24-48 hours.
-
Oven-Baked Clay: If you want a quicker drying process, oven-baked clay is your best bet. Just follow the baking instructions on the packaging.
Tools for Shaping and Detailing
-
Rolling Pin: Essential for rolling out the clay evenly. You can use a regular kitchen rolling pin or a smaller one designed for crafts.
-
Piping Tip: This tool is perfect for carving out the eyes and mouth of your ghost. If you don’t have one, any small, round object will work.
Molds and Supports
-
Aluminum Foil: Use this to create a base mold for shaping your ghost. Fold it into a small cone or ball shape to support the clay as it dries or bakes.
-
Styrofoam Ball: Another option for a mold, but remember to remove it before baking if you’re using oven-baked clay to avoid melting.
Additional Items
- Baking Sheet: If you’re using oven-baked clay, you’ll need a baking sheet to place your clay ghosts on during the baking process.
With these materials at hand, you’re all set to start crafting your own spooky yet adorable clay ghosts. Ready to get started? Let’s move on to preparing the clay.
Step-by-Step Guide to Making Clay Ghosts
Preparing the Clay
First, knead the clay until it becomes soft and pliable. This step is crucial for making the clay easier to work with and ensuring a smooth finish.
Once the clay is soft, use a rolling pin to roll it out evenly into a circular shape. Be careful not to roll it too thin; you want to avoid tearing when shaping your ghosts.
Shaping the Ghost
Now, create a mold using a small styrofoam ball and a folded piece of aluminum foil. This mold will help hold the clay ghost’s shape as it dries or bakes.
Carefully lift the rolled-out clay and place it over the foil mold. The clay should naturally form folds, but adjust and add more until you achieve the desired ghostly shape.
Carving Eyes and Mouth
To give your clay ghost its spooky personality, use a piping tip to carve out the eyes and mouth. Position these features just below the center, or where the top of the ghost’s head would be.
Drying or Baking the Clay
If you’re using air-dry clay, leave your clay ghosts on the mold to dry naturally. This process can take anywhere from 24 to 48 hours, depending on the clay’s thickness and the room’s humidity.
For those using oven-baked clay, place your clay ghosts (still on their molds) onto a baking sheet. Follow the baking instructions provided on the clay’s packaging, usually involving heating the oven to around 275°F (135°C) and baking for 15-30 minutes.
After baking, let your clay ghosts cool completely before removing them from the molds to ensure they hold their shape.
And there you have it! Your very own DIY clay ghosts, ready to haunt your Halloween decor.
Creative Ideas for Decorating Your Clay Ghosts
Once your clay ghosts have dried or cooled, it’s time to get creative with decorating! Here are some simple and fun ideas to make your clay ghosts stand out:
Accessorizing
- Mini Accessories: Add tiny hats, scarves, or bows to give your ghosts some personality. You can make these from felt or small fabric scraps.
- Paint: Use acrylic paint to add details like rosy cheeks, spooky expressions, or even tiny ghostly outfits.
Hot Glue
- Eyes and Mouth: If carving isn’t your thing, you can use hot glue to attach small googly eyes or black beads for the eyes and mouth.
- Extra Details: Hot glue can also be used to attach small accessories or even tiny spiders to your ghosts.
Craft Room Items
- Glitter and Sequins: Add some sparkle by sprinkling glitter or attaching sequins to your ghosts. This can make them catch the light and look even more magical.
- Buttons and Beads: Use buttons or beads to create unique facial features or decorations on your ghosts.
Skulls and Spiderweb
- Mini Skulls: Place tiny skulls around your clay ghosts for a more eerie effect. You can find these at most craft stores during the Halloween season.
- Spiderweb: Stretch some fake spiderweb material around your ghosts to give them a haunted look. This is especially effective if you place them in a dark corner.
Mesh Fabric
- Ghostly Cloaks: Drape some white mesh fabric over your ghosts to give them a floating, ethereal appearance. This can make them look like they are hovering in mid-air.
- Background Decor: Use mesh fabric as a backdrop for your ghost display. It adds texture and makes your clay ghosts the focal point.
With these decorating ideas, your clay ghosts will be the star of your Halloween decor. Next, let’s answer some common questions about crafting clay ghosts.
Frequently Asked Questions about Crafting Clay Ghosts
How to Make a Ghost from Clay?
Creating a clay ghost is fun and easy. Here’s a simple way to do it:
- Knead the Clay: Start by kneading your clay until it’s soft and pliable.
- Roll the Clay: Roll the clay into a circular shape using a rolling pin. Keep it thick enough to avoid tearing.
- Create the Mold: Use a small styrofoam ball and a folded piece of aluminum foil to form a mold. This will help shape your ghost.
- Shape the Ghost: Drape the rolled-out clay over the mold. Natural folds will form, giving your ghost a flowing look.
- Carve Features: Use a piping tip to carve out the eyes and mouth just below the top of the ghost’s head.
- Dry or Bake: If you’re using air-dry clay, let it dry on the mold. For oven-baked clay, follow the baking instructions on the clay’s packaging.
Accessorizing: Add some personality to your ghosts with accessories. Use hot glue to attach small craft room items like tiny hats, bows, or even mini pumpkins.
How to Make Clay That Hardens?
To make clay that hardens, you can use a simple recipe with common household items:
- Ingredients: Mix 2 cups of flour, 1 cup of salt, and 1 cup of warm water.
- Knead the Dough: Knead the mixture until it reaches a smooth, consistent texture. This step is crucial for ensuring the clay is workable.
- Shape and Dry: Shape your clay into desired forms. Let it air dry for a few days or bake it at a low temperature (around 200°F) until it hardens.
This homemade clay is perfect for making durable, long-lasting clay ghosts.
How to Make Clay Without Cornstarch?
If you don’t have cornstarch, you can still make effective clay using this alternative recipe:
- Ingredients: Combine 2 cups of flour, 1 cup of salt, and 1 cup of warm water.
- Mix and Knead: Mix the ingredients together and knead the dough until it’s smooth and pliable.
- Shape and Dry: Shape your creations and let them air dry or bake them at a low temperature.
This recipe is straightforward and uses items you probably already have in your kitchen.
These FAQs should help you get started on your clay ghost project with ease. Next, let’s dive into some more creative ideas for decorating your clay ghosts.
Conclusion
Crafting clay ghosts is a fun and easy way to add a personal touch to your Halloween decor. Whether you’re using air dry clay or oven-baked clay, following our step-by-step guide will ensure your spooky creations come out perfectly every time.
But let’s not forget about keeping your crafting materials and finished products in optimal condition. This is where Micro-Pak Distribution USA comes in. As a leader in anti-microbial and anti-moisture solutions, Micro-Pak ensures that consumer goods, including your clay projects, stay free from mold and mildew.
Why Choose Micro-Pak?
Micro-Pak offers a range of products designed to prevent mold and mildew from the factory to retail. Their Dri Clay® Kraft is a standout product, made from natural bentonite clay and packaged in biodegradable FSC-certified Kraft paper. This makes it an eco-friendly alternative to traditional desiccants like silica gel and calcium chloride.
By using Micro-Pak’s innovative solutions, you can be confident that your DIY projects and other consumer goods will arrive in perfect condition, free from the harmful effects of moisture.
Optimal Condition, Every Time
Micro-Pak’s commitment to safety and sustainability sets them apart. Their products not only protect against mold and mildew but also contribute to a greener planet. Since 2010, Micro-Pak has been actively working to eliminate any negative environmental impacts of their business.
For more information on how Micro-Pak can help you keep your creations in optimal condition, check out their Dri Clay® Kraft product page.
So, as you dive into your next clay crafting project, with Micro-Pak, you can focus on creativity without worrying about mold and mildew. Happy crafting!
Recent Comments